QuickBooks and Xero Integration for Field Service: Setup, Sync, and the Hours You Get Back

Here's a Tuesday afternoon at a busy plumbing shop. A tech finishes a job by 2 PM. The invoice is entered into the scheduling tool. Then it is entered again into QuickBooks. After that, the payment is posted somewhere else. By the end of the month, three deposits no longer match the bank records, and no one can explain why.
From years of customer conversations, in our experience shops without a live QuickBooks integration burn what amounts to a full back-office day every week on this re-keying - data the field team already entered once.
This guide aims to close that gap: it explains the QuickBooks Online vs. Desktop split, what a two-way sync actually does, how setup issues can break the process, and the reconciliation traps that affect shops that have done everything else correctly.
Why the question is bigger than picking software
For a typical 5-20 tech shop, the real decision isn't "QuickBooks or Xero." Roughly 62% of US small businesses already run QuickBooks, according to 2024 market-share data summarized by Fitsmallbusiness. The books already live in QuickBooks. The actual question is whether your field service tool can talk to that QB file without someone at a desk making it happen.
The cost of getting this wrong shows up in the numbers. Construction payments take an average of 83 days to collect, according to CFMA data summarized by IntelliChief. HVAC commercial DSO runs 45-90 days based on HVAC Know It All. The operators compressing those numbers are almost always the ones whose invoices hit QuickBooks the same day work wraps - not the ones still negotiating payment terms on Friday afternoon.
Our STANCE: The shops that flip on an integration and call it done are leaving hours on the table every week. A two-way sync with clean chart-of-accounts mapping is worth 7-10 admin hours back. A two-way sync with a messy one just automates the mess - faster. The configuration work is the job. Not the OAuth handshake.
Here is the math. Manual data entry carries roughly a 1% error rate per transaction. If your shop sends 30 invoices a week, that adds up to an invoice error every few months. Some errors get caught. Others turn into underbilled jobs, disputed invoices, or year-end write-offs that nobody fully understands. A properly working two-way sync eliminates much of that risk at the source - before it ever reaches your accountant.
QuickBooks Online vs QuickBooks Desktop for field service
The two products share a brand but sync differently, cost differently, and are on different end-of-life clocks.
QuickBooks Online uses OAuth and APIs for cloud-based connections. Your FSM authenticates once and sends invoices, customers, items, and payments through live integrations. A job wraps up at 4 PM on Friday. The invoice appears in QuickBooks before 4:15. Done.
QuickBooks Desktop uses a Web Connector pointed at a local .QBW file. Reliable, but it needs an on-prem workstation running. And the clock is ticking. According to Intuit's official stop-sell announcement, Intuit stopped selling new US subscriptions for Desktop Pro Plus, Premier Plus, and Mac Plus as of September 30, 2024. According to Intuit's discontinuation policy summary, Desktop 2022 sunsets May 31, 2025. Desktop 2024 is likely the last version most shops will see supported - projected through 2027. From years of watching customers on Desktop, the operators who get burned are the ones who ignore these sunset dates until connected services stop working mid-month.
However, many shops still remain on Desktop - especially HVAC, plumbing, and electrical businesses with more than 15 years of QuickBooks history. They are not looking for an entirely new accounting system. They want a field service tool that works with their existing chart of accounts and eliminates the need for someone to manually enter invoices. That is a reasonable request and it is exactly how Field Promax Desktop integration is designed to work.
Xero's March 2026 pricing changes the integration math
According to Xero's official developer pricing page, effective March 2, 2026, Xero moves from revenue share to a tiered model based on API connections and usage. Tiers run from Starter ($0) through Core ($35 AUD/mo, 10 GB egress), Plus ($245 AUD, 50 GB), Advanced ($1,445 AUD, 250 GB), and Enterprise. API egress overage is $2.40 AUD per GB.
Most end users won't feel this - the FSM vendor absorbs the cost. But it changes which integrations stay deep over time. According to Xero's rate-limit documentation, standard limits are 5 concurrent calls, 60 calls per minute, and 5,000 calls per day per tenant. The shops pushing against those limits are almost always running aggressive nightly full-resyncs instead of delta syncs. The integrations that hold up post-2026 are the ones built to sync only what changed. Worth asking your FSM vendor about their sync architecture before March hits.
How a two-way sync actually works
Four different integration patterns show up across FSM tools. Know which one you are buying before signing any contract.
- One-way push (FSM to QB): Invoices and payments flow into QuickBooks, but updates do not flow back into the FSM. This is common in lower-quality tools.
- One-way pull (QB to FSM): In some systems, the chart of accounts and customer records are pulled directly from QuickBooks, making QuickBooks the single source of truth.
- Two-way sync (full): In the best integrations, items, invoices, customer credits, and payments sync in both directions. That is the setup you actually want.
- CSV export/import: not really an integration. Skip it.
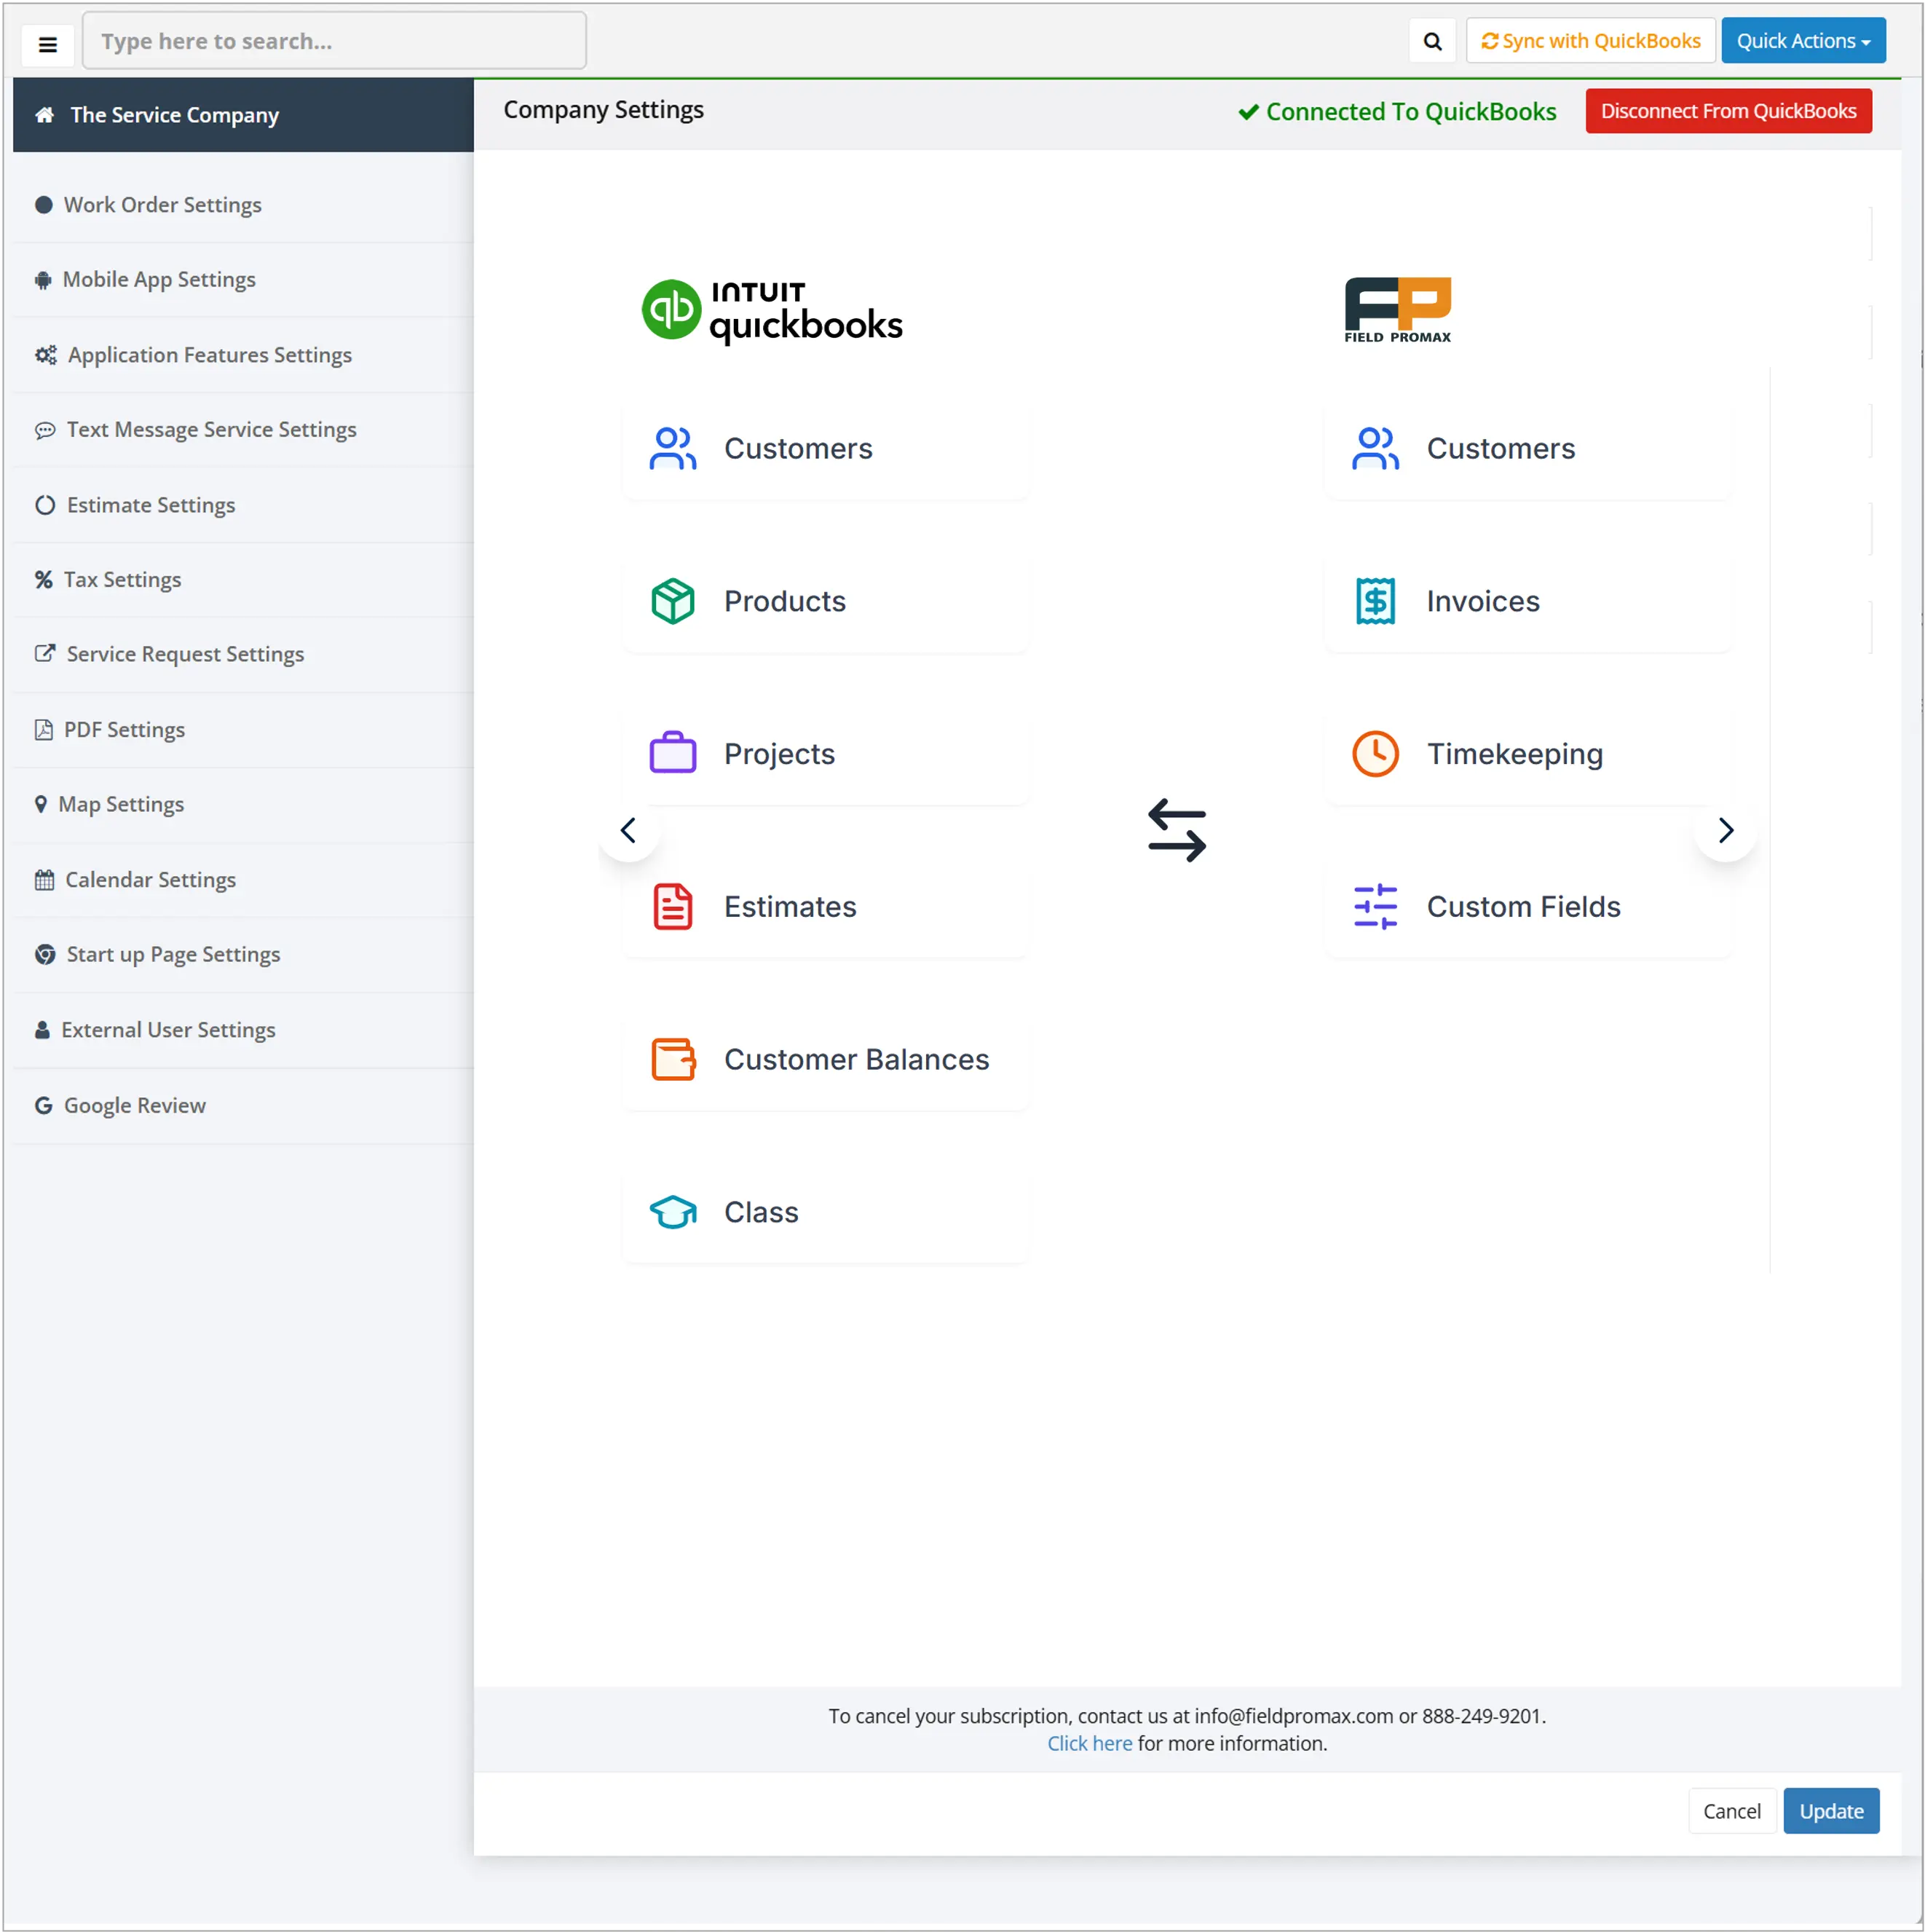
A proper two-way sync transfers customers - including names, addresses, phone numbers, and payment terms - along with invoices, line items, taxes, totals, service items, payments, and credits tied to your QuickBooks chart of accounts. What it should not transfer are job notes, technician schedules, or photos. That information belongs inside the FSM, where operational work is managed.
Payment syncs are the part most businesses overlook. If a customer pays through QuickBooks or Xero, that payment status should update inside your FSM immediately - not the next day. If it does not, your dispatcher ends up looking at invoices that were actually paid two days earlier. Your aging AR report becomes inaccurate, and someone at month-end is left manually comparing two systems that quietly drifted apart. Ask the vendor directly: “Do QuickBooks payment statuses update inside your system in real time?” If they hesitate or hedge on the answer, assume the sync is only one way.
The 90-day picture after the sync goes live
If the integration is set up correctly and the field team is actually using the mobile app, here is what the first few 90 days should look like.
Jobs that once sat unpaid for days start getting paid the day after the work is completed. Days-to-invoice drops below 24 hours. Time spent re-entering data falls close to zero. Month-end reconciliation becomes an hour-long review instead of a full day spent hunting through mismatched records. And finally, the P&L starts showing which service lines are actually worth running.
The Total Economic Impact study of Microsoft Dynamics 365 Field Service found time-to-invoice compressing from up to 30 days down to same-day at enterprise scale. The same compression shows up at 5-20 tech operations. The mechanism is identical regardless of size - faster invoice out means faster payment in, which is how the DSO numbers that separate high-margin field service shops from everyone else actually move.
A reviewer who linked their field service business with Xero put it simply: “I love the fact that I can invoice using the software, and all my data is instantly reflected in Xero. “It’s brilliant!” That is not excitement over a new feature. It is what happens when a problem that used to consume hours every week suddenly disappears.
Getting the QuickBooks sync live
Seven steps. Complete them in this order. Shops that skip step 4 usually spend the next six weeks repairing the damage.
- Gather your QB credentials. For QuickBooks Online, that means the admin login. For QuickBooks Desktop, you need the QBW file location and the admin password.
- In Field Promax, open Settings, then Integrations, then pick QuickBooks or Xero.
- Authenticate. QuickBooks Online uses an OAuth handoff and usually takes about two minutes. QuickBooks Desktop requires the Web Connector to be installed and linked to your company file.
- Map the chart of accounts. This is the step most teams rush through and later regret. Expense accounts, income accounts, tax codes, and item-to-service mappings should all be agreed on before anything syncs. Incorrect mappings create inaccurate P&L classifications every month. Get a bookkeeper on the call for this step.
- Set a historical sync cutoff. Do not import 10 years of customer data. Import only active customers who have been billed within the last 24 months. Anything beyond that usually creates duplicates.
- Run a test sync on five customers and three invoices. Verify everything in QuickBooks before going live. Spending 15 minutes here prevents 90% of setup problems before real operational data is involved.
- Set auto-sync to match your billing rhythm. Most shops run syncs hourly, but real-time trigger sync is better when available. It updates automatically when a job is closed or a payment is received, instead of waiting for a scheduled sync cycle.
Mapping mistakes that cost the most
Naming inconsistency. “Smith’s Plumbing” in Field Promax and “Smith Plumbing LLC” in QuickBooks are treated as two different customers by both systems. Choose a canonical naming format and make it mandatory during intake. Every duplicate creates a fragmented AR history that takes more time to untangle than anyone plans for.
Tax code mismatches. If your FSM uses a single sales-tax rate while QuickBooks uses six different rates, your invoices will show incorrect totals. In our experience, manual entry produces a steady drip of errors that only surface at month-end; automated sync removes most of them, but only if the tax mapping was right going in. For shops operating across multiple counties - common in HVAC and plumbing - involve your accountant early and review the tax setup before going live.
Income account collapse. Mapping every service line into a single “Service Income” account makes your P&L far less useful. Map service lines correctly from day one. Spending two hours now vs months of cleanup and re-coding later.
Missing item-level mapping. Without it, you can't pull a real job profitability report. That report is usually the reason owners bought field service software in the first place.
Bulk-syncing inactive customers. Import only active customers. Limit the import to customers billed within the last 24 months to avoid filling your customer list with accounts that moved away or closed years ago.
The undeposited funds trap
This is one of the most common QuickBooks reconciliation issues we see. In most cases, it is not caused by the FSM integration itself.
According to Intuit's reconciliation documentation, Undeposited Funds is a holding account that receives customer payments before you record them as a bank deposit. Correct workflow: receive payment, hold in Undeposited Funds, create a Bank Deposit in QB that groups the payments to match the actual bank deposit, then reconcile. Simple enough.
What usually happens is that payments hit Undeposited Funds and stay there. QuickBooks groups deposits differently from the way the bank records them. At month-end, the books no longer match the bank statement, and everyone is left trying to figure out where the discrepancy came from.
This is most commonly seen when the shops first turn on two-way sync. The FSM diligently sends payments to QuickBooks through Undeposited Funds, and that part works fine. However, no one has informed the back-office team that those payments need to be grouped into a Bank Deposit to match what appears in the bank feed. The fix is procedural: train whoever runs reconciliation to create a Bank Deposit in QB that mirrors how the bank batches the deposits, on the same day. The fix usually takes one afternoon of training. No changes to the integration process are required.
A pattern across operators we've worked with
One pattern became clearly visible at a mid-sized commercial services company - around 20 techs across mixed residential and light commercial routes. The issue was dispatch-related, but it showed up in the books in a way that no QuickBooks integration could solve on its own.
The failure mode was no-access jobs: gated complexes, property-manager-coordinated sites, and after-hours retail locations. The booking script captured an address and an available time slot, but it did not capture how the technician would actually access the site. By the second quarter of the summer, the operator was tracking a steady stream of no-access events - the tech would arrive, nobody would be available to let them in, and 30 to 50 minutes would be lost along with the return drive. Dispatchers only became aware of the issue once the technician called from the road. On the calendar, everything still appeared neat and organized. About a quarter of the day's labor time was being lost to failed visits.
On the QuickBooks side, the only visible signals were downstream symptoms: technician hours logged against jobs that produced no revenue, write-offs discovered weeks later during reconciliation, and a distorted profitability picture across service lines that should have delivered the strongest margins. The integration was fine. The problem was the quality of the operational data feeding into it.
The fix was operational. The company updated the intake script to require access notes and a verified mobile number before the CSR could close the call. Dispatchers also started sending 24-hour-out confirmation texts to every scheduled customer. The first rollout failed because CSRs skipped the new access-notes field for repeat customers because they already "knew" them. By the second month, they made it a hard-required field and added a Monday huddle to review the prior week's misses.
Within a quarter, the number of no-access events dropped dramatically. The unexpected friction: confirmation texts triggered a wave of reschedule requests, and the calendar became more chaotic about three weeks before it stabilized. But once no-access trips declined, the labor-cost-without-revenue line in the books dropped alongside them. Reconciliation became significantly less painful - without changing the integration at all.
Composite case specifics changed and anchored to the most common version of this pattern across operators we've worked with.
For plumbing shops, job-level profitability
For plumbing operators, the integration payoff usually shows up at the job level. With job costing flowing into QB, the owner can pull a report showing whether a sink-replacement quoted at $340 actually cleared after parts, the second trip nobody billed for, and the apprentice's drive time. Across our plumbing customer base, this is the report that ends the longest-running arguments about which job types are worth chasing - and which ones have been quietly bleeding margin for two years.
For HVAC contractors, invoice acceleration
For HVAC contractors, the win that shows up first is invoice speed. A condenser install closes Friday at 4pm. The invoice posts to QB by 4:15. The automated payment reminder goes out Monday morning. An HVAC contractor reviewing Field Promax on the QuickBooks App Store described the sync as making work-order creation and job invoicing materially more efficient. When that compounds across hundreds of jobs a year, the DSO improvement that separates the tight operators from the ones waiting 60 days isn't a mystery - it's a process.
For landscaping crews, customer data sync
For landscaping teams, the underappreciated value is the synchronization of customer data. When the office updates a recurring maintenance customer’s address or service preferences in Xero, that change reaches Field Promax before the next scheduled visit. The crew is not driving to the wrong address or missing a note like “no spray on the southern side” that the customer added the previous week. That prevents real callbacks. For routes operating on thin margins per visit, even one unnecessary callback per week matters.
From the founder
The single most common feature request we get is better dispatch-to-invoice automation, and almost every one of those conversations ends up being about QuickBooks. The shops we work with overwhelmingly already run QB - often Desktop with 10-15 years of history. They don't want a new accounting system. They want the field tool to stop being a separate island that requires somebody to retype invoices on Friday afternoon.
I read every support ticket personally. The integration-setup tickets that go sideways almost always trace back to the same root cause: nobody mapped the chart of accounts before flipping on auto-sync. Spend an afternoon on the mapping once. Get an accountant or bookkeeper in the room for that step. That single hour saves months of reconciliation pain downstream.
- Joy, Founder, Field Promax
When integration is not the fix
If your financial records are messy - wrong opening balances, unreconciled accounts going back years, or accumulation of undeposited funds - turning on a sync will feed the mess more quickly. With better technology, it will be easier to automate.
The QB error codes 3371, 6176, and C=387 are not integration issues. They're QB file issues. They're not payroll update errors or corruption of company files. Shops who try to get rid of QB and then roll out FSM integration during the same month usually fail to complete the integration and start over three months later.
The honest sequence: clean up the QB file first, with a bookkeeper if needed. Then layer in the QuickBooks integration. The integration amplifies whatever discipline already exists in your books. It does not create it.
Mobile-app adoption is the predictor that matters
The sync only works if your techs actually use the mobile app to close jobs in the field. That's the variable that determines whether a Field Promax rollout succeeds more than any configuration decision. Shops where techs close jobs from the truck, take signatures, and attach photos get days-to-invoice from 3-4 days down to under 24 hours. Shops where techs still bring paper job sheets back to the office get a more expensive way to retype paperwork.
Our STANCE: Mobile-app adoption is not a software problem - it is a management problem. The FSM cannot make your techs use it. If the rollout plan is "we turned it on and showed them how," expect three months of wondering why the invoicing lag didn't change. Build the behavior into the first 30 days: check who's closing jobs from the truck, review the misses weekly, make the app the path of least resistance. That's the work. The integration is the easy part.
The integration is the easy part. The behavior change is the work. Plan the rollout around tech adoption for the first 30 days. Everything else follows from that.
By the numbers: what the integration actually moves
1. KPI benchmarks: before vs after a working sync
| KPI | Without integration | With two-way sync | Source |
| Days Sales Outstanding (DSO) | 35-45 days | 18-25 days | Field service industry averages |
| Invoice accuracy rate | 92-95% | 98-99% | Manual entry error rate ~1% per transaction (Invensis, 2024) |
| Admin hours/week (30-50 jobs) | 9-15 hours | 2-4 hours | Field Promax customer base |
| Month-end reconciliation | 4-8 hours | 1-2 hours | Typical field service bookkeeper workflows |
| Billing cycle (job close to invoice sent) | 1-4 days | Same day | Auto-invoice on job completion |
| Monthly data entry error cost | $2,500-$7,500 | Near zero | DocuProx, 2025 |
| Extra bookkeeper hours at tax time | $800-$2,500/year | Minimal to none | Common in disconnected-system businesses |
2. US field service software market: year-by-year
| Year | US FSM Market Size | Change | Key integration development |
| 2021 | ~$1.4B | ~12% | Cloud FSM adoption accelerated; accounting integrations became standard expectation |
| 2022 | ~$1.6B | ~14% | Mobile-first platforms expanded native accounting connectors |
| 2023 | ~$1.9B | ~13% | Native QBO integration became table stakes for FSM buyers |
| 2024 | ~$2.1B | 10.4% | QBD stop-sell; 57% of FSM platforms added native ERP/CRM connectors (Global Growth Insights) |
| 2025 | $2.8B | ~13% | Trigger-based real-time sync becomes standard; Xero API pricing restructure announced (IBISWorld) |
| 2026-2032 (projected) | To $6.6B | 15.6% CAGR | AI reconciliation, job-level profitability dashboards, payroll loop closing (P&S Intelligence) |
Conclusion
QuickBooks and Xero integration for field service is an operational discipline that requires the right software. Select the platform your accounting team already uses. Create a chart of accounts before the auto-sync process goes live. Equip your field team to close jobs directly from the truck. Days-to-invoice shrink on their own.
The day you stop back-office data entry shows up in the budget. The reconciliation cleanup your bookkeeper no longer bills for shows up as year-end savings. The P&L that finally shows which service lines are actually worth running shows up every decision that follows.
Field Promax integrates natively with both QuickBooks Online and Xero - two-way, real-time, trigger-based. Plans start at $99/month for 1 user (Light), $159/month for 5 users (Standard), and $239/month for 12 users (Premium).
Frequently Asked Questions

Content Creator
Bhargavi Halthore is a content writer at Field Promax, a field service management platform serving trades businesses across the USA and Canada. With over a decade of experience writing for business owners, she brings detailed, ground-level insight to every topic she covers. Her research goes beyond search results - she digs into LinkedIn groups, Facebook communities, and Reddit forums to understand what field service business owners are actually dealing with on the ground. She speaks directly with industry professionals, understands their day-to-day challenges, and translates that into content that is practical and actionable. What you read in her articles reflects real industry patterns, not theory.